Assembly Instructions and Components
Components


(1) Dash Tray


(1) Rubber Mat


(2) Gooseneck

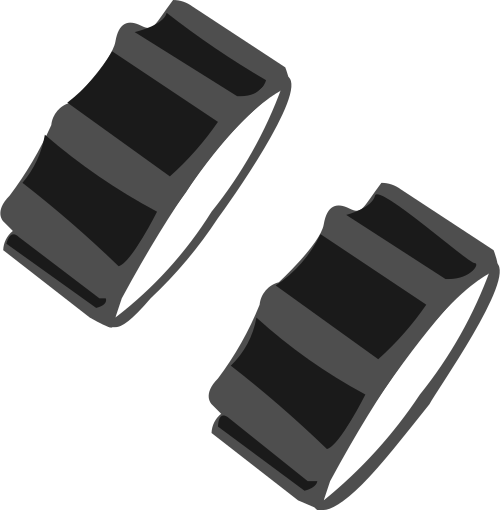
(2) Twist-Lock Nut

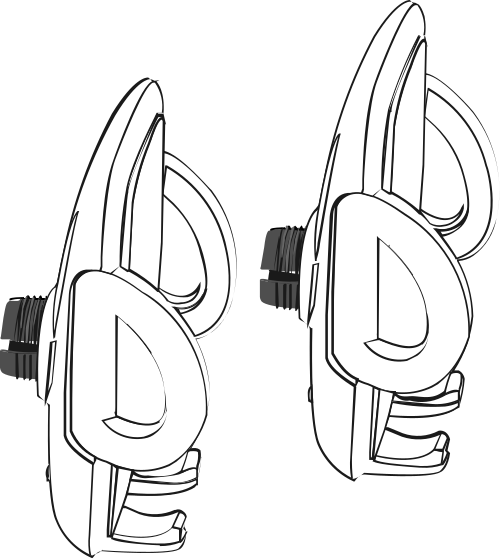
(2) Phone Holder

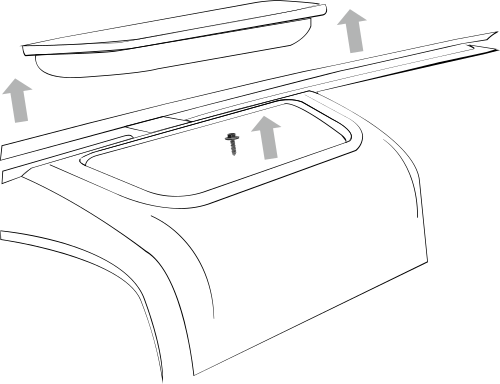
Remove existing dash tray and then remove dashboard screw*.

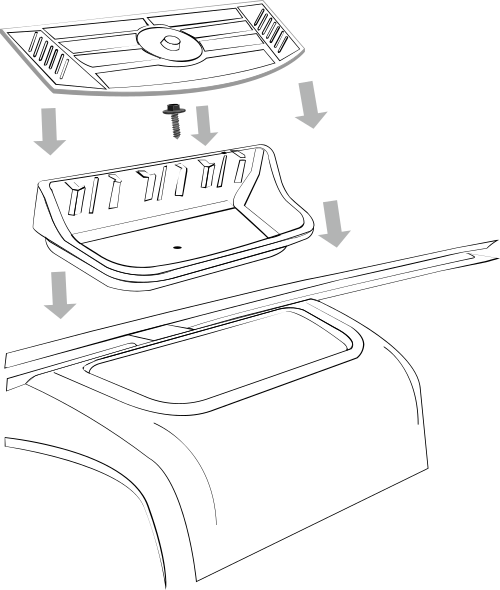
Secure the provided dash tray with the screw and then insert the rubber mat

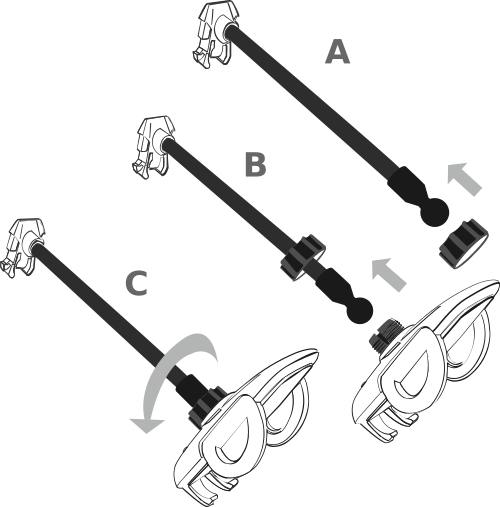
Place the twist-lock nut over the end of the gooseneck. Insert the threaded ball socket of the phone holder over the ball mount at the end of the gooseneck. Loosely tighten the twist-lock nut.


Press the grip release button on the back of the phone holder to expand arms to fit your phone.

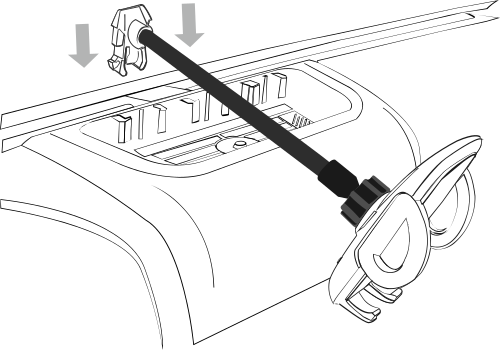
Clip the gooseneck into the dash tray by sliding the buckle into any one of the three provided slots to lock in place. Press buckle prongs together and gently lift up to remove.

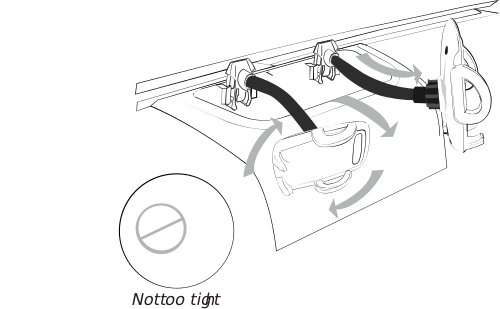
Configure the placement and positioning of the goosenecks and phone holders to your liking. Tighten twist-lock nuts as needed. Be careful not to over-tighten the twist-lock nuts to avoid damaging the goosenecks when repositioning your phones..